
Costume Ideas, Sources, Patterns, Puppets, Stable Backdrop Ideas, all for the Christmas Story

This topic originally began as a request in the Teachers Lounge for help finding a "Camel Costume pattern." We've since expanded it to include other Advent ~ Christmas costumes, props, scenery backgrounds and resources.

Feel free to add your suggestions.


Oriental Trading Company (online) carries a lot of inexpensive "Bible costumes". (Try search term "pageant nativity" at the Oriental Trading site https://www.orientaltrading.com/ )

including this cute camel costume we've referenced from their site.

orientaltrading-camel

The costume photos on their website (as well as what you can see doing a general internet search for images) can give you a lot of good ideas for those who want to make their own.

Tip:  Use safety pins to adjust the size and length of costumes for use by different age groups.

Attachments

Images (1)
  • orientaltrading-camel
Last edited by Luanne Payne
Original Post

Replies sorted oldest to newest

Fabric Camel Costume sewing directions

Here's how we created "camel costumes" for our Christmas pageant:

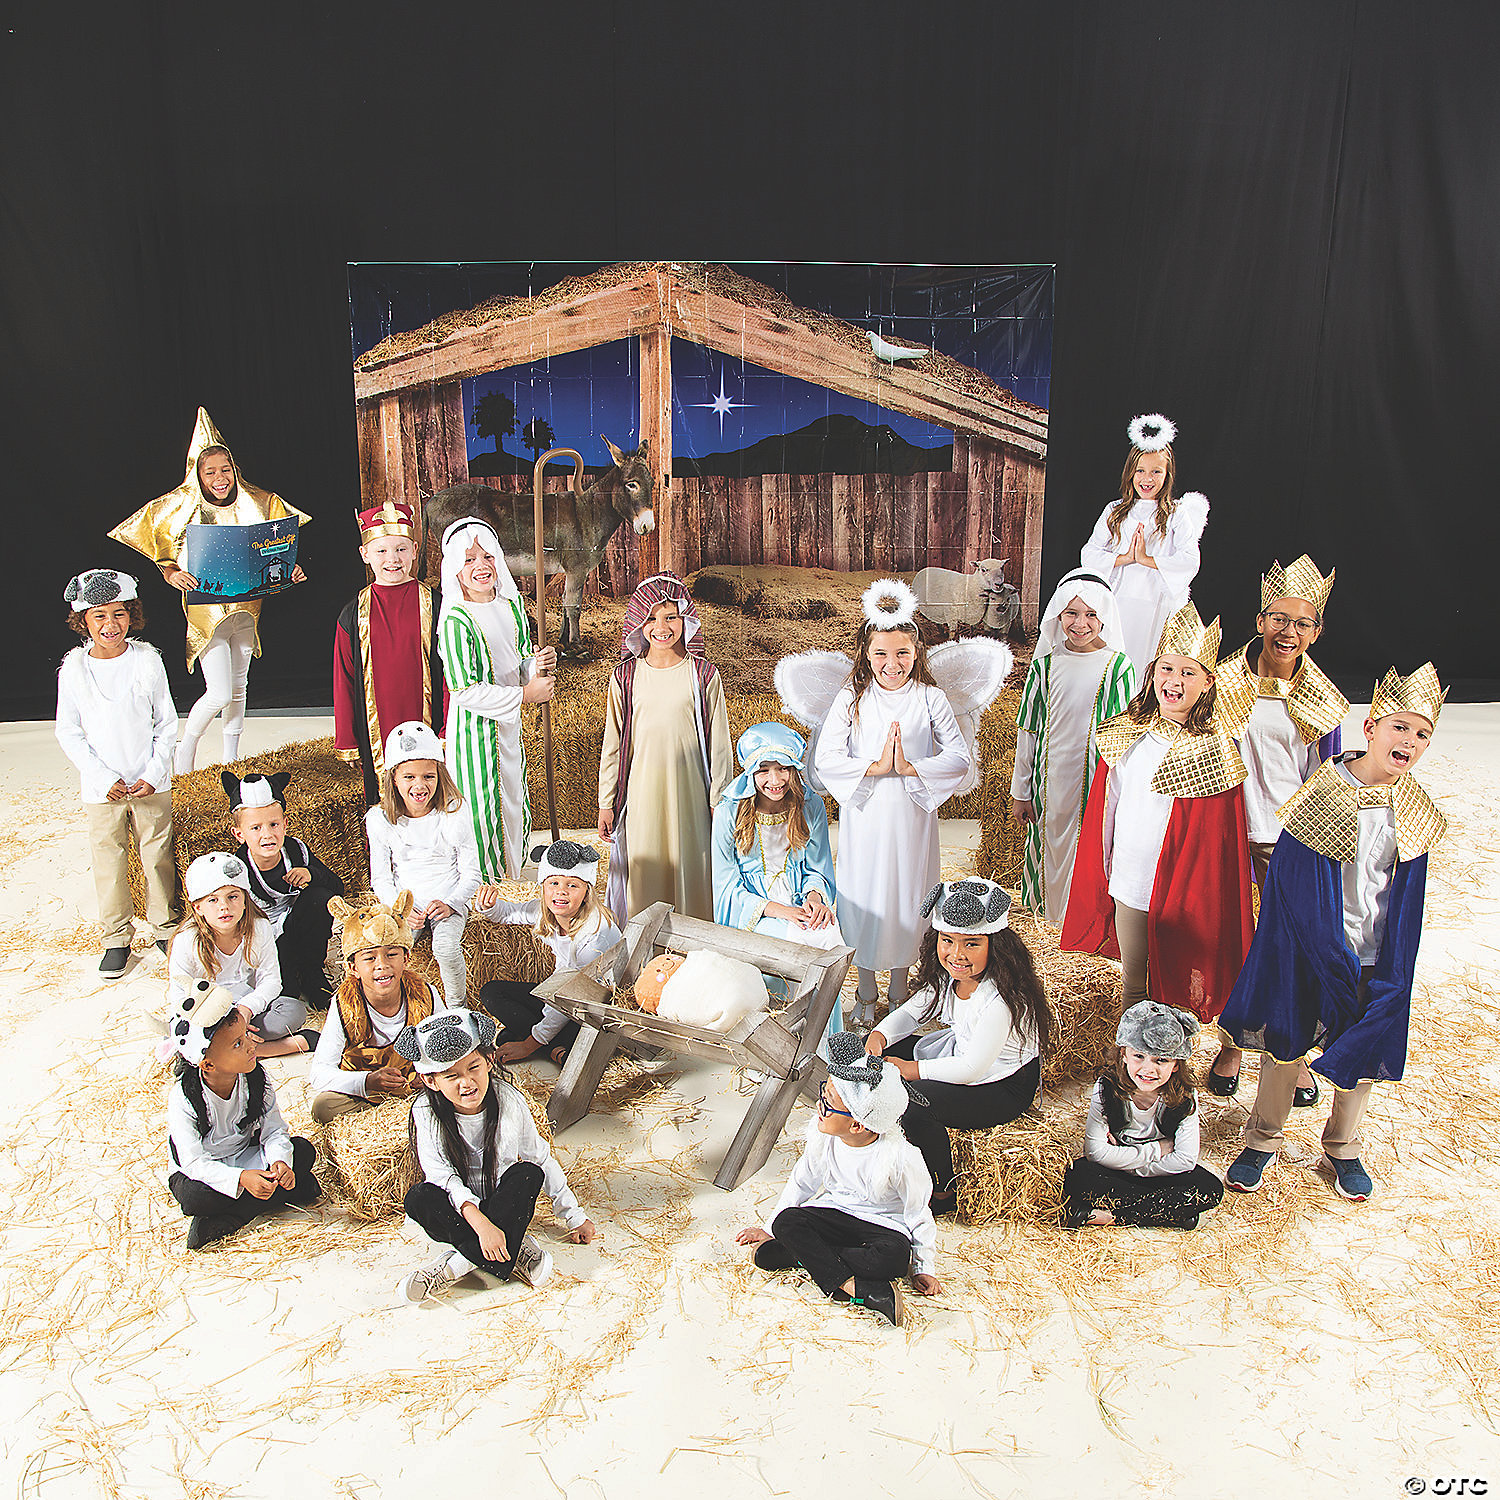
We were making a two-hump camel costume worn by two children. Their legs provide the camels four legs and they each have their head in a hump. The hump has a rectangular section cut out and replaced by netting so they can see where they are going.

The child in front controled the camel's head by holding up a broom handle which was the "spine" up the camel's neck. It was kind of hard to control which resulted in the camel moving it's head and "looking around" at the congregation - really cool.

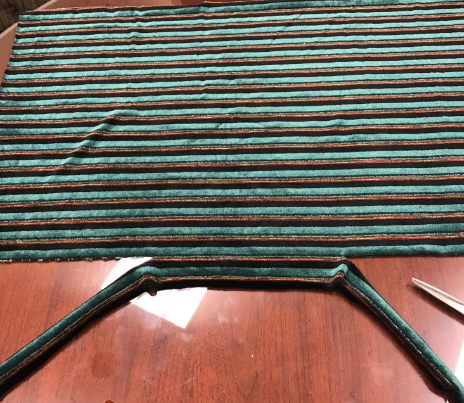
To sew the camel we started with a large rectangle - fold this in half and sew up the sides to create a big envelope which is the body of the camel. The open end is the bottom where the kids' legs will stick out.

For the humps cut out two semi-circles for each and sew each pair together around the rounded edge. Attach the humps by cutting slits in the top fold of the camel body piece and sewing the flat open edge of the hump around in the slit. (Sort of like sewing a pocket into a pair of pants.)

For the neck Just sew a long tube open on both ends.

For the head we just drew the basic shape of a camel head on paper and made a pattern peice. Cut out 2 of that shape and connect them with a long strip about 3 inches wide in between to give it some width. We ended up with two odd points in the front that we tacked together in the middle making somehting that looks like a nose.

Add ears and long black fringe trim for eyelashes/eyes.

Attach to the neck tube. To attach the neck to the body cut of one of the top points of the body rectangle and attach there.

Braid 3 strips of material for a tail and tack on the back end.

Stuff the head and neck with something lightweight. Insert a broom handle up the neck to hold up the head.

We also sewed fake fur to the tops of the humps.

Angie

Last edited by Neil MacQueen

Camel made from 4 by 8 sheet of cardboard (tri-folded)

We have done a camel in a very simplistic but effective way with a 4 by 8 sheet of cardboard cut in camel shape minus the legs and detailed with chalk. Spray it after chalking with hairspray or clear matte acrylic.

We attached reins to the mouth and added handles on the back side. You can even add fake cloth human legs to the outside if you wish. The two children stand back side and hold the camel by the handles. You can use fabric to make leg cuffs if you want as well.

We tri fold for storing and for making movement different on stage.

Very simple, very storable and you do not need to worry about if it will fit next years children.

Last edited by Neil MacQueen

Camel Costume made from a BOXBook Cover Christmas Promise

The book "Christmas Promise" by Abingdon Press, 9780687064977, has a photo on the front cover of a camel costume made out of cardboard that is really neat and looks easy to make. (Note I have this book and there are no comments or directions in the book regarding the camel costume pictured.)

Here are directions I've cobbled up:

Supplies (per camel): 

  • Head:  is cut from a single flat piece of cardboard.
  • Body:  medium to large cardboard box, newspaper, brown wrapping paper, tape (shipping tape would be strongest)
  • Accessories:  red ribbon (halter); gold rope (reins);  and two pieces of thin rope (suspenders).


Directions: 

  1. Body: Use a medium to large box for the body.  The top of the box needs a hole big enough the child can get their top half to their waist through it easily.  Cut the bottom out of the box.
    The top of the box will sit at their waist.  The bottom of the box will sit around their knees (so they can walk, their legs are the camels legs).
    Attach two ropes to top of box on each side of the holes to create suspenders.  These will go over the child's shoulders to hold camel's body in place.
    Crumple up newspaper and tape around hole in top of box to create a hump.  Because the suspenders will be holding the body up it does not need to fit tight to the waist.
  2. Head/Neck: Draw neck and head of camel from a flat piece of cardboard (use a coloring book picture as a guide). Just make sure you draw it larger than the picture - so the head is in correct proportion to the box (body of your camel).  Make sure you draw the head on both sides!
    Note: Draw an extra long neck so you can use the extra to attach your neck to the camel's body (box).  I'd suggest you cut the neck end that's being tape to the box with a lengthwise cut.  Cut a slit in front of box for neck, on front of body, in the center, near the top.  Insert extra neck, then bend the neck where you have cut it, to the left and to the right and then tape down really good on the inside and outside of box.  This should keep the head facing straight ahead and so it will stay attached.
  3. Wrap the box in brown wrapping paper to cover any writing on box and and over padding (hump) to make the body uniform (look like one piece).
  4. Glue on red ribbon to head to make a halter.
  5. Attach long gold rope (halter), so an end is attached to each side of halter.  The halter will then lay across camels neck, easy for child to reach.  And if they drop it, being one piece it will stay on neck, easy for them to grab again. 
  6. You may want to add a tail!
  7. Make as many camels as you need.
  8. Lower box over child, place suspenders over their shoulders.  Give them reins to hold.

Attachments

Images (1)
  • Book Cover Christmas Promise
Last edited by Luanne Payne

Puppet IdeasPuppet-and-Masks-Book

A great puppet resource is Puppets and Masks: Stagecraft and Storytelling, by Nan Rump, Davis Publications, 1996, ISBN 0871922983 or 9780871922984 (copies still available on amazon).

This book describes how to make puppets from basic art supplies (paper plates and construction paper) and recycled objects (empty plastic bottles, fabric scraps, ....).

If you are doing, for example, a "Friendly Beasts" skit you can also use your imagination and adapt instructions for one sort of animal to another or adapt people puppet characters (i.e. make a camel or donkey using the horse or dragon suggestions.)

Attachments

Images (1)
  • Puppet-and-Masks-Book
Last edited by Luanne Payne

Stable Backdrop

(can also be used as a puppet stage)

01-Stable-backdrop

I was putting away the Stable backdrop, I made back in 2008, and thought maybe someone else might be interested in doing something similar for next Christmas, so below are the details. We are still using it 15 years later!

Directions

Supplies:02-Cardboard-fridge-box

  • Cardboard box fridges are shipped in.
    (I retrieved my box from a local appliance store. I inquired if there was any chance I could get my hands on a fridge box, which was still in one piece. They gave me permission to go outside and look through their cardboard recycling area, warning me that they may be all cut apart. I lucked out and found one still intact and dry.)
  • Two Permanent Black Markers, 1 - Wide Tip, 1-Pointed Tip.
  • Utility Knife
  • Paint: black, white, dark grey, light grey, beige, pink and yellow. (Colors used will depend on what animals, etc. you decide to add. I used Acrylic Paint by Rehotech, as it's nice and thick for painting onto cardboard.)
  • Black stretchy fabric (width of your fridge box and deep enough to just cover the windows, see 7 below.)
  • 12 med black binder clips (to clip fabric to rooftop).

Steps:

  1. Use a Utility Knife to cut through one corner, from top to bottom, to open the box.
  2. Cut off TOP flaps ONLY.  DON'T cut the BOTTOM flaps as they help with stability when it's standing!
  3. Lay flat, inside facing up (no writing is on this side).
  4. In pencil, draw the top portion of your stable scene (You may want to find a coloring picture to use as your basic design):

    03-Stable-Directions-Picture

    A - left and right outside vertical beams. I suggest you do double the width shown on the right vertical outside beam, rather than how I did it above, see B below for reason.

    B
    - Mouse Hole, added at a later date is a piece of cardboard04-Corner-insert-with-mouse-hole-added (glued on), seen on the left side top. That side, years later, is nice and sturdy, while the opposite side that has only a narrow beam has become flimsy. My intention is to add a piece of cardboard making that side beam wider. So why I suggest you do at least two beams wide for each (A).

    C
    - Roof beams (Optional: Flat or Slanted Roof - I went slanted.)

    D
    - "V" beams, both slated up towards the center of the stable roof (adds stability).

    E - Vertical beams at the two box folds (fold should be in the center of each beam).

    F - Hay hanging from roof (also adds sturdiness to top section).

    G - Vertical barn boards - see Step 6 below for directions on drawing these.

    H - Using a Utility Knife cut out the window areas, and if you went with a slanted roof you'll need to cut away the extra cardboard above the roof line. *Important*: lay extra pieces of cardboard underneath, so your Utility Knife doesn't cut through to your floor.

    05-Backdrop-showing-cut-away

  5. Paint your haystack (yellow), donkey and cow (or whatever animals you've put into your scene), then highlight/define any areas needed with black marker.

    Donkey
    dark grey, light grey, pink and white (eyes).
    06-Donkey

    Cow
    black, white, beige, pink, light grey.
    07-Cow
  6. Draw the Barn Boards (G). While the paint above is drying, determine what width your barn boards need to be between each (A) & (E) vertical beam sections, and pencil mark them at the top and bottom.
    08-Wood-Grain-and Knots
    I used my wide tip black marker and drew freehand the outline of each barn board directly on the cardboard, using the pencil marks for width guidance, note none of my lines were straight to look more natural.

    Creating wood looking Veins & Knots: To make them look like barn boards I used the black marker with the pointy tip and drew rough looking veins and knots, again freehand.

  7. Cloth - you'll need a piece of black stretchy fabric that is the width of your fridge box and deep enough to just cover the windows.  I used black binder clips to attach it to the backdrop, thinking if I ever wanted to wash the fabric or change the fabric color it was easy to remove.

    09-Fabric-Binder-Clipped-along-Top-of-Backdrop
  8. Optional: Decorate Back of Stable Backdrop - this year we needed two scenes, a Bethlehem Street and an Outside Wall of Stable, so at our local dollar store (Dollarama) I found rolls of sticky back shelf paper that had a wood panel design.  I used this to cover the side of the box that has all the manufacturer's information printed on it. The rolls weren't very long so I had to piece and patch it.

    10-Sticky-Shelf-Paper-added-to-back-of-Stable-Backdrop
    Below is the completed, back view, I ran out of rolls (used 10) so there is a small area on the right side half-way down not done. Also, in regards to your fabric, don't unclip it, simply flip over to the back, which is what I did below. Then when you do a scene change to the stable, simply flip the fabric back again.

    11-Back-view

Storing12-Folded-for-storage

The four sections fold flat, like an accordion (see photo on right).

Like many old church buildings storage space is lacking. We solved it by storing it, with other large cardboard props, behind our last row of movie theater seats (pictured below).

We drape the cardboard props with a colorful piece of fabric—that ties in to the color of our seats and the back wall—looks nicer and keeps them protected.
13-Stable-backdrop-stored


Stable Backdrop Uses

We use it almost every year during our Christmas rotation as either:

  1. Drama Backdrop

    The advantage of having a backdrop is you can have a teacher, kids, and props hidden behind it and also your actors can move from one side to the other unseen. Also great for anyone whose church does not have a stage with curtains.

    14-Michael-Mouse-sheep-giving-their-wool

  2. Puppet stage

    Below Photo - We used the back of the stable backdrop for a scene taking place on a street in Bethlehem. Note how the backdrop is set-up in a W shape, as this adds stability when you have several puppeteers in action, like the nine sheep puppets pictured.)

    15-Michael-Mouse-sheep arrive

    Additional Stable Door Idea:16-Stable-Door-using-Kids-Puppet-Theater

    For the above puppet skit, we needed a door for the stable where two cats appeared.

    I took a small kid's puppet stage I had, unscrewed the top triangle section, flipped, and screwed it back on (this hides the design). Inserted a piece of cardboard in bottom section, made it look like a barn door (using a black marker). Then I switched out its bright orange curtains for a piece of black stretchy fabric which I simply attached with four clothespins along the top.

  3. Decoration

    We've left the stable backdrop on the stage over the Christmas season (adding a manger, large stuffed sheep, etc.) It's very eye-catching for any events, dinners, or other special gatherings.)
    17-Christmas-Stable-Scene

Attachments

Images (17)
  • 01-Stable-backdrop
  • 02-Cardboard-fridge-box
  • 03-Stable-Directions-Picture
  • 04-Corner-insert-with-mouse-hole-added
  • 05-Backdrop-showing-cut-away
  • 06-Donkey
  • 07-Cow
  • 08-Wood-Grain-and Knots
  • 09-Fabric-Binder-Clipped-along-Top-of-Backdrop
  • 10-Sticky-Shelf-Paper-added-to-back-of-Stable-Backdrop
  • 11-Back-view
  • 12-Folded-for-storage
  • 13-Stable-backdrop-stored
  • 14-Michael-Mouse-sheep-giving-their-wool
  • 15-Michael-Mouse-sheep arrive
  • 16-Stable-Door-using-Kids-Puppet-Theater
  • 17-Christmas-Stable-Scene
Last edited by Luanne Payne

Simple Animal Costumes

Over the years I have collected fabric animal hats from: mainline stores (or online); at winter craft shows-crocheters (or talk to the crocheters in your family or church), and sunglasses (party supply store).

These are great for those simple pageants where you want some animals in your Christmas Pageant and to be able to hand the kids a simple one-piece costume, that is fun and the kids love to wear. Most hats will fit age 6 to adult.

Will work with any script, are great for Paper Bag Pageants type programs, Friendly Beasts Plays, etc. and they take up little room to store.

Here is my collection:

Donkey & *Camel (*A friend's mom crochets animal hats and I asked her if she'd ever seen a pattern for a camel, she had not, but she thought she could probably cobble one up for me and she did, I was thrilled with the result!)

Hat-DonkeyHat-Camel

Cows/Ox

Hat-CowHat-Cow-Ox

Came across these cool Cow Sunglasses once at Party City (likely around Halloween when they are well stocked in different costumes/props).

Cow-Glasses

Sheep and a Chicken

Hat-SheepHat-Chicken2

Attachments

Images (7)
  • Hat-Donkey
  • Hat-Camel
  • Cow-Glasses
  • Hat-Cow
  • Hat-Cow-Ox
  • Hat-Sheep
  • Hat-Chicken2

Simple Shepherd's Headdress

Suggestion: These are so easy and quick to make MAKE A LOT OF THEM and invite even the adults to wear them as they leave the family "nativity" worship service.  After all, the shepherds didn't stay at the manger, they went and told the Good News!

Here's a great link to a simple tutorial on how quickly to make a headdress with a tie using a single piece of fabric and some stitching glue.

https://wonderfulwinkels.wordp...-headdress-tutorial/

how to make a simple shepherd's headdress for nativity storysimple shepherd's headdress for nativity story

Attachments

Images (2)
  • shepherd's headdress
  • simple shepherd's headdress
Last edited by Neil MacQueen

Imagine using actual LIGHT to bring to life "the stars in the sky look down where he lay,"  the Star of Bethlehem, "that light was the light of all people," "and the darkness that cannot overcome it."

There are several "star projection" devices that can be found online and many of them are surprisingly inexpensive. I've used them with kids before and they  them!

Christmas Eve services, Sunday School pageant, Nativity Display, Sunday School lesson. Outdoor display.

Here's a screenshot of one such product available on Amazon called the Youdas Star Projector. The screenshot shows the variety of star fields it can project. It's bright enough to light up a wall or ceiling or entire dark room, or a white panel behind a manger scene, or the front of your church building above your nativity display.

Star Projector for Advent Nativity Story

Attachments

Images (2)
  • Star Projector for Advent Nativity Story
  • Star Projector for Advent Nativity Story

Add Reply

Post a New Topic
Lesson or Resource
Rotation.org Inc. is a volunteer-run, 100% member supported, 501(c)3 non-profit Sunday School lesson ministry. You are welcome to borrow and adapt content for non-commercial teaching purposes --as long as both the site and author are referenced. Rotation.org Inc reserves the right to manage, move, condense, delete, and otherwise improve all content posted to the site. Read our Terms of Service. Get a free Registered Membership or become a Supporting Member for full access to all site resources.
Rotation.org is rated 5 stars on Google based on 51 reviews. Serving a global community including the United States, Canada, United Kingdom, Australia, New Zealand, S. Africa, and more!
×
×
×
×
Link copied to your clipboard.
×
×