Using Oil Pastels in Sunday School
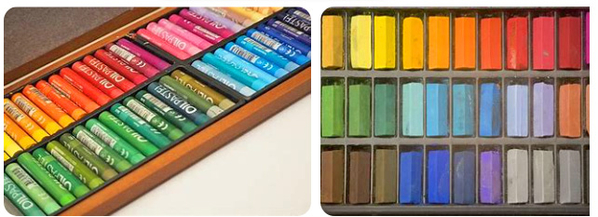
Made from pigment, oil, and wax binder, soft Oil Pastels feel smooth and buttery to use, giving them a wonderful tactile sense of immediacy and intimacy with your drawing that encourages artistic expression and the application of feeling and vibrancy to the subject.
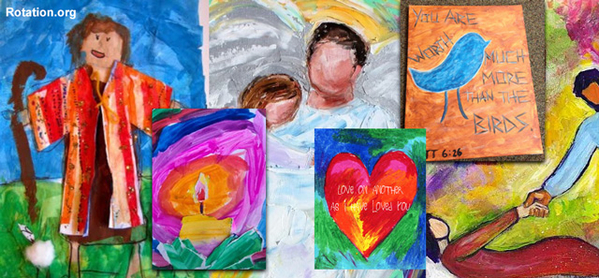
Today's wax crayons for children evolved as a cleaner version of Oil Pastels, more suited for young children coloring between the lines, whereas, oil pastels are more like a soft vibrant paint used to create and express and can get your fingers into. Where crayons say "color this line drawing," oil pastels invite the student to imagine the scene and key moments they want to capture and apply themselves as well as the oil crayons.
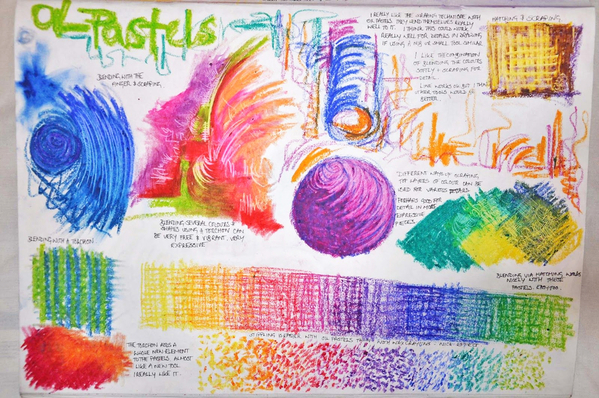
Typically, oil pastel artists first sketch and then apply color, often layering various shades and colors, and smudging and blending the oil pastels with their fingers to create a unique impressionist look.
Because they are not water-based, the colors can blended or be left to underlie one another to create a unique appearance. They can be made smooth or applied chunky to create textures and make the drawing leap off the page.
Oil Pastels are particularly good at shading and shadows, giving the appearance of movement, such as swirling, and making skies and seas seem to come to life.
Oil Pastels can also be overpainted with watercolors to create a "wax resist" technique (the paint doesn't cling to the oil crayon. (Tip: use white oil pastel for best effect.)


Helping Young Artists Prepare to Express Themselves with Oil Pastels
When the hands create, the soul sings, and the lesson is not forgotten.
1. Study the Bible story, highlighting key actions, movements, emotions, and moments that could be captured. List these on a board as you brainstorm them.
2. Have students practice different drawing techniques on scrap paper. Demonstrate various colors, shapes, and blending techniques on scraps and discuss how they might be used to show key persons, moments, actions, and emotions in the story.
3. Have students block out on the paper what they plan to draw using light lines or pencil lines.
4. Demonstrate leaving white space (not everything has to be colored), and how the selection of colors and the pressure and stroke that you apply them with can evoke a feeling.
5. Discuss room for keywords and phrases from the scripture that could be included.
6. Discuss or demonstrate how to include symbols, as well as tell more than one part of the story. Discuss if they want to include themselves in the story of their drawing.
7. Use thick drawing paper that won't fold or scrunch up as pressure is applied, and will look nice when finished.
9. Mount finished artwork on a piece of posterboard that is slightly larger than the drawing paper. You can tape it onto the posterboard or use a quick adhesive spray to tack it onto the board.
10. Always allow time for artists to share and explain their creations. Be encouraging and use this as a time to reinforce the story and what the artist was trying to capture.


