Photographing Bible Scenes and Moments in a Lesson Plan
Ideas for using photos ~ photography
in various workshops, such as, Drama, A-V (Video), and Music.
Several techniques are discussed. Feel free to add your own.
Once upon a time, some Rotation Modelers treated "photography" as a separate learning medium on it own in a "Photography Workshop." But we here at Rotation.org have since made "taking pictures" part of many different workshops, including Drama, A-V, and Music, and sometimes all three together in one lesson plan! The point is that "photographing" what the students are doing is a lot of fun, focuses their attention, captures great lesson moments, and can become discussion starters. It's also really easy with today's cellphones and the ability to show cellphone content on the classroom TV with a simple adapter cable (described below).
The "Audio Visual Workshop" in the Rotation Model has historically included photo activities such as posing and taking photographs of Bible story scenes re-enacted by the kids. It's a great way to explore and "capture" the mood, motivations, questions, attitudes, and key moments of a Bible story. That said, some Rotation Model folks use "taking photographs" in their DRAMA Workshops. Wherever you do it, its a great way to get the kids involved in the storytelling.
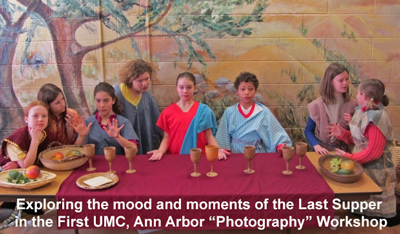
Today, the difference between "photography" and "video recording" is a click on your cellphone. Which of those you decide to use to capture the moment is entirely up to you and your lesson objectives.
Related Read: 18 Ways to Use Your Cellphone in Your Teaching, in the Classroom
The Rotation.org Writing Team has been using photography in a number of creative ways in a variety of workshop lesson plans. In their Shepherds and Angels Advent Lesson Set, you can see two lessons that use your cellphone in two very creative ways.
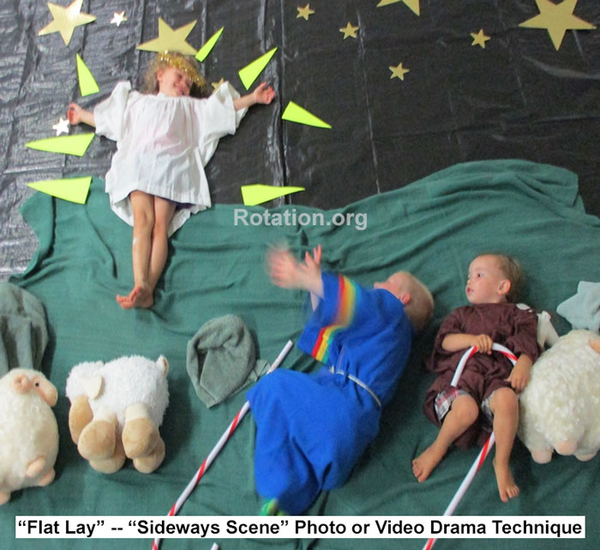
The Shepherds and Angels Drama lesson captures "still photos" of kids posing an Advent scene -- but doing so using a "bird's-eye" view called "Flat Lay."
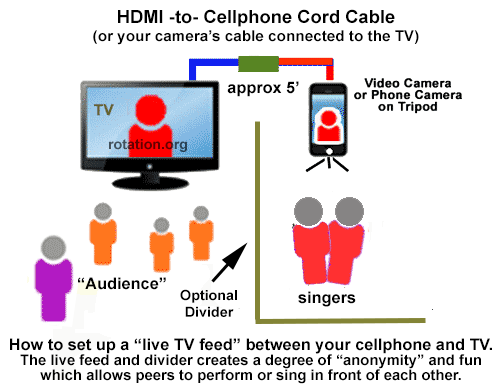
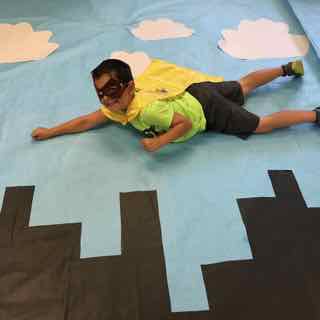
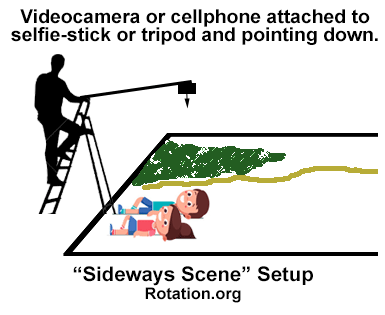
The Shepherd and Angels "Bethlehem Live" Music Workshop uses a cellphone connected to your TV to create a "live" view on the TV of your singers, and also to record actors singing "Go Tell It On the Mountain" using a type of "Flat Lay" technique known as a "Sideways Scene."
Learn more about "Flat Lay" photo and video techniques
in our Drama Workshop forum.Remember: Access to the Team's lessons require a supporting membership.
"FREEZE FRAME" "FROZEN MOMENTS" "PHOTO TABLEAUX"
This simple technique of POSING and then PHOTOGRAPHING key moments, scenes, and character reactions is as old as the camera itself. The best part is the kids don't have to wrestle with scripts while they talk and the teacher can really get into the "emotion" of the scene, ...what Jesus was feeling, what Pilate was thinking of, how would YOU be reacting in this scene? etc etc.
Sunday School has a long history of capturing Bible scene poses with Polaroid "instant" cameras, then with digital cameras and printers when they became affordable. Using today's cellphones, these fun and very productive learning activities are MUCH easier and LESS expensive than the old Polaroid days.
Keys to this technique:
- Have a story to tell! Taking photos works best for stories, not short verses.
- Have costumes and props to pick from.
- Take many photos, not just one.
- Teach as you set up the scenes and pose, don't stop talking about the story. Throw out questions!
- And BE SURE to have a way to SHOW THE PHOTOS at the end of class. In other words, make sure you have THE CABLE that connects your camera or cellphone to the TV screen.
The above photos come from Carol Hulbert's Rotation Sunday School and Church Family blog where you can read about their lesson and see more photos.
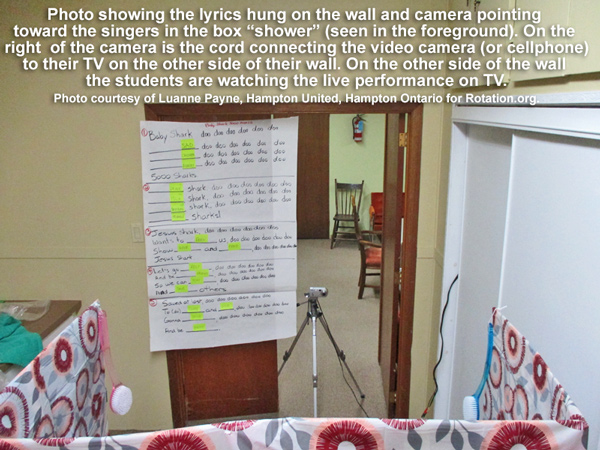
In Luanne Payne's Jesus Feeds the 5000 "Singing in the Shower" lesson (for our Writing Team), the kids are photographed or recorded as they sing their new lyrics to a familiar tune. (The "singing in the shower" approach feels like a fun game to the kids. It's a bit of mis-direction, in that they aren't performing directly in front of their peers, but instead, in front of a video camera which is fed to a TV for a "live" performance.
Learn more about how to get and use this "live tv" technique with your cellphone and TV.
Creating "still" photos is a great way to slow the pace of the lesson activity. You can direct, zero in on key moments, work on visually expressing an important idea, try new things, add props and talk bubbles, and then move on to other key moments or ideas you want to capture and discuss in the story. It doesn't require any other script than the story itself, and it doesn't require movement unless you are using the video setting. Just keep taking photos! (because kids love that, and love seeing their photos.)
Discuss the photo and how you could "pose it better to capture X idea" (and then do it)
- "Create a Caption" such as writing one on a sheet of paper held by the actor or writing it on the white/chalkboard behind their heads

- Ask "What if" and then take another photo. What if Peter hadn't stepped out of the boat?
- "What is this person thinking?" What was Peter thinking underwater?
- "What are the possible reactions to what Jesus just said?" Faces of the disciples back on the boat.
- A picture of what our response should be. Johnny gets in the boat to encourage Peter to get out there!
- Pose a person and give them a thought bubble.
- You can even create photos that go with songs, like this scene from "Voice of Truth" song (see and hear it on YouTube).
Displaying what's on your cellphone to your TV
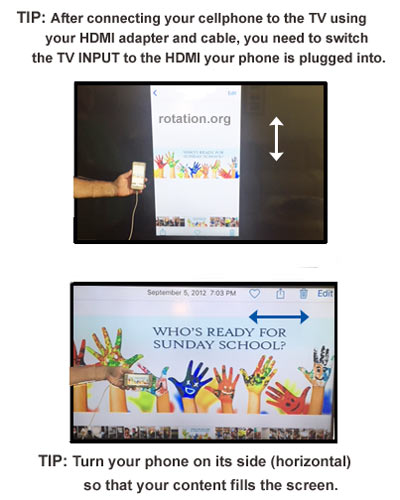
It's really easy to do with today's cellphones and equipped TVs. You just need an HDMI to Cellphone cable to show your cellphone photos/recording on your TV, including using your TV to show a "live" feed from your cellphone! See this article for help.

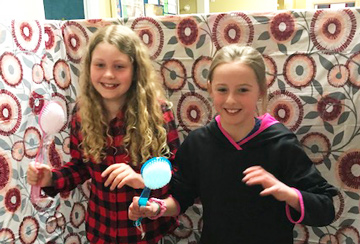


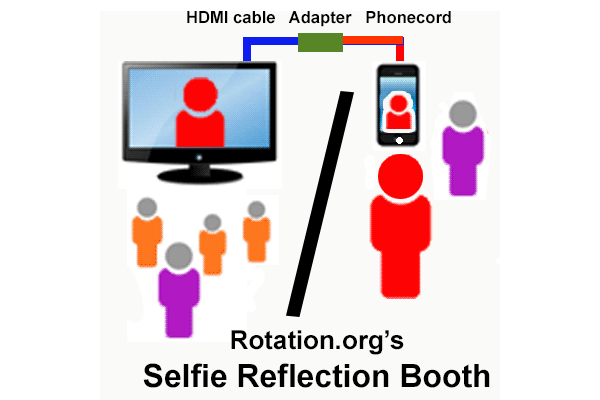
 Here's the basic setup: