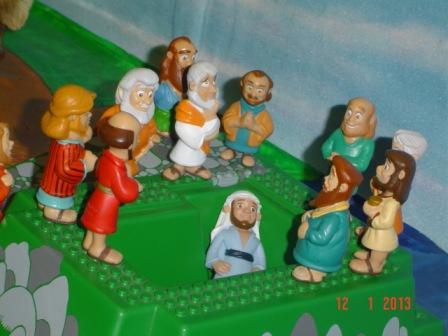
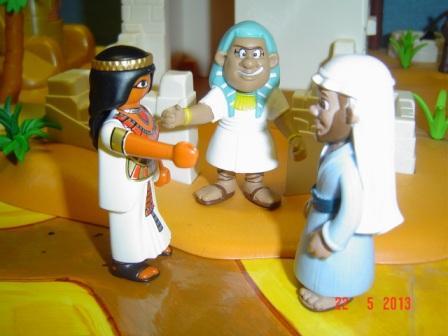
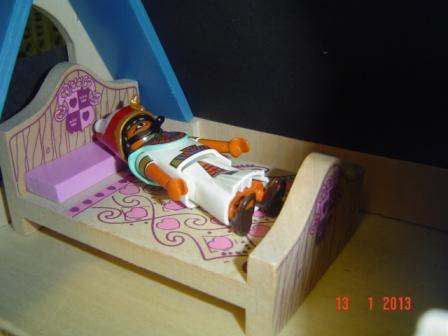
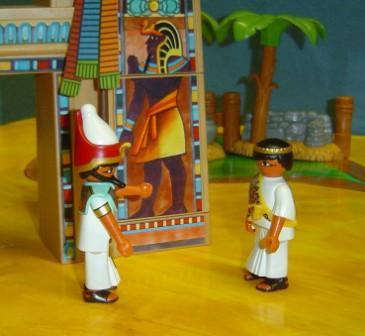
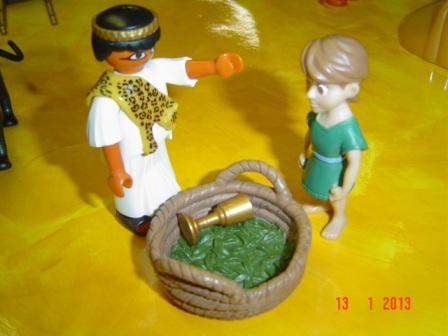
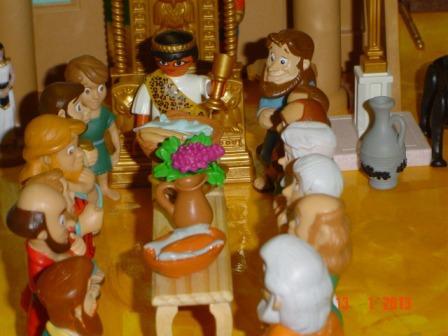
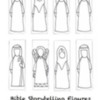
God’s Story Table
by Luanne Payne, Hampton U.C., Hampton, ON, Canada
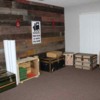
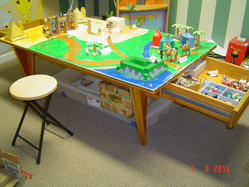
God’s Story Table became a reality when I was donated a used table that was perfect for what I had in mind in 2009. It is located in our “Tent Room”, previously used for Bible Skills and Games. The room is approximately 11’x11', so you don't need a really large space for this idea to work.
Goals
- Reinforce: who the bible story characters are, event(s) that happened, and correct story sequence.
Guidelines
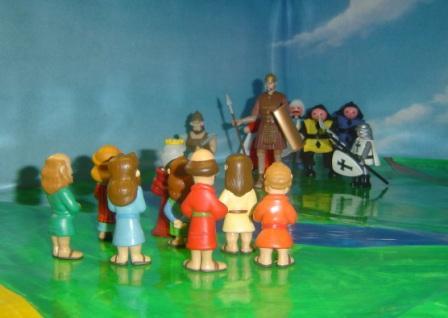
- I gather all the props and set-up the main layout beforehand. Reason – you will spend too much time setting up the scenes during class and not have enough time to take all your pictures and have discussion along the way. So main scenes should already be set-up, kids will be moving and posing characters and small props, background scenes, etc.
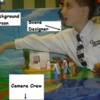
- Children take turns, being: director, scene designer, camera operator, lighting, etc. for each scene.

- Tri-pod and a movie clapper will add a movie set feel.
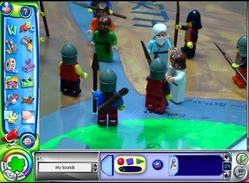
- I take the digital pictures, taken by the children, and put them into movie maker, adding text and then copy to DVDs for all the kids. (See post further down on using Kid Pix 4 or the newer "3D" version or PowerPoint, instead of Movie Maker).
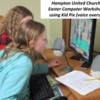
- If I had older kids, I currently have age 10 and under, I would have them input the pictures into Kid’s Pix and put together a slide show in the computer workshop.
- Next time I hope to record the kids telling the story and adding sound effects to incorporate into the slide show or movie.
Story Table
Use any table. For details of my table see below.
- 3¼ feet Wide; 5¼ feet Long; 21” High.
- Drawers - shallow, but deep, pull out drawer on each end.
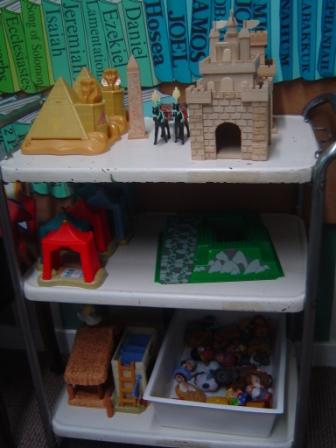
- Table still high enough to easily store larger props and containers of smaller props underneath.
I placed stools around outside of room for use in discussion later that we can pull forward, but the students will be need to move freely around the table when creating and photographing their bible story scenes.
Story Scene Mats
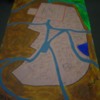
I wanted to leave the original table top bare for playing board games, so then came up with the idea to create Story Scene Mats the size of the table top that could be removed or exchanged for a different story scene.
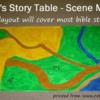
My first Story Scene Mat I drew free hand, painted it, then had it laminated (had to cut in half lengthwise in order to fit through the laminate machine at a local educational store), once laminated I taped the pieces together using clear packing tape.
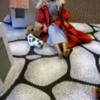
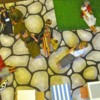
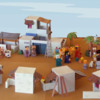
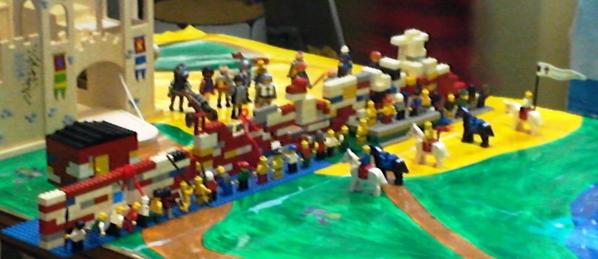
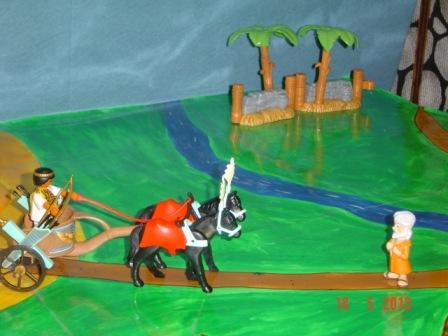
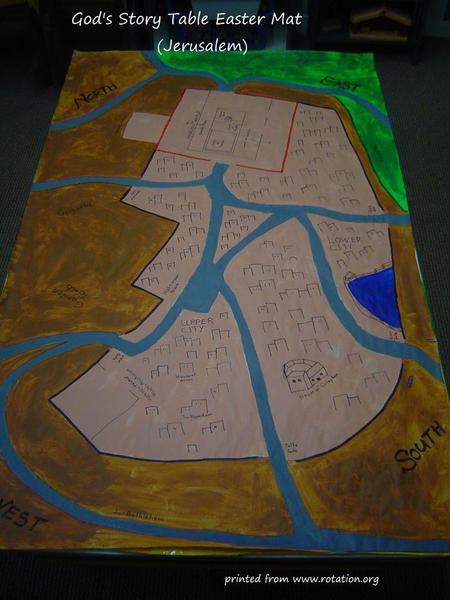
I wanted to be able to use the mat to cover several bible stories, so I incorporated: a stream (river), a small lake (sea) with a beach, roads for traveling, grass for fields, and desert sands (Egypt). Pictured below.

Down the road I would like to create additional Story Scene Mats, such as:
- Paul’s Journeys map(s)
- a sea with coastlines for those stories that take place on the water
- in 2017 I created - Jesus' Last Week Story Scene Mat, pictured below.
Video made with scenes created and photographed by students
I've uploaded our first movie on "David: Shepherd/Musician/Anointing/Goliath" to "YouTube" so you can see a sample of the possibilities! Our background music is a song, I found on-line, that suited our story perfectly. It was written and sung by "David Delgado" (used with permission) and a heartfelt thank you for allowing us to use it!
Updated 2020 to add:
Lesson Charts
When I'm creating my lesson I always include the following two Charts:
1) Scene Set-Ups Chart
This chart helps with planning, gathering supplies, and teaching. It breaks down the scenes and what is required for each:
- scene # and title
- characters (people)
- props (animals, buildings, cloth -- a piece of blue fabric if a scene takes place on water or as sky backdrop, and black for night, etc.)
- and possibly a fourth column for any special scene notes.
Be creative when it comes to unusual props you might need, for example a plague of Gnats. (My suggestion to Jaymie was to draw little black specks onto a transparency sheet with a fine point permanent marker. This transparency sheet is then held in front of your camera lens so in your photo it appears there are gnats everywhere -- a special effect!)
Makes it easier when planning and helps with figuring out what you need, collecting those supplies, and advance preparation of your classroom, plus any special notes (optional). Having this one-page quick reference will make your lesson run more smoothly.
It's important to have the material all laid out on a separate table prior to class, as this allows your students to pull required items for each scene quickly. For example, when Jaymie did her Moses-Plagues/Passover/Red Sea Story Table Workshop (charts shown below), she had supplies for each plague in a small basket for quick access.
Each scene takes time for the kids to set-up the scene, photograph, and discuss, so you don't want to be searching for supplies. The more scenes you have, the more time it will take, so be sure to take into account the time you normally have for a lesson will dictate the number of scenes you can accomplish.
Example: Scene Set-Ups for Moses - Plagues / Passover / Red Sea
Scene | Characters | Props |
- Nile into Blood
| - Moses (staff)
- Aaron
- Pharaoh
- Egyptian/Israelites
| - Backdrop (tape blue tissue paper to cover it)
- Brown construction paper ground
- Blue River (blue felt)
- Red River (red felt)
(half blue/half red) |
| 2. Frogs | - Moses
- Aaron
- Pharaoh
- Egyptian/Israelites
| - Frogs (frog stickers or small plastic frogs) – placed all around scene
|
3. Gnats | - Moses
- Aaron
- Pharaoh
- Egyptian/Israelites
| - Gnats (created by drawing little black specks onto a transparency sheet with a fine point permanent marker.) This transparency sheet is then held in front of your camera lens so in your photo it appears Gnats are everywhere— special effect!)
|
| 4. Flies | - Moses
- Aaron
- Pharaoh
- Egyptian/Israelites
| - Flies (small plastic flies or fly stickers) – all over scene
|
| 5. Dead Livestock | - Moses
- Aaron
- Pharaoh
- Egyptian/Israelites
| - Small toy animals lying on sides
|
| 6. Boils | - Moses
- Aaron
- Pharaoh
- Egyptian/Israelites
| - Small adhesive dots – placed on all Egyptian figures
|
| 7. Hail | - Moses
- Aaron
- Pharaoh
- Egyptian/Israelites
|
- White aquarium gravel – scattered all over scene
|
| 8. Locusts | - Moses
- Aaron
- Pharaoh
- Egyptian/Israelites
| - Locusts or grasshoppers (plastic or stickers)
|
| 9. Darkness | - Moses
- Aaron
- Pharaoh
- Egyptian/Israelites
| - Black felt background (large enough to cover entire area, have children hold this over the entire backdrop and place the scene title on the black cloth.)
|
| 10. Death of firstborn males | - Moses
- Aaron
- Pharaoh
- Egyptian/Israelites
- Lay people down
| - Draw a doorframe with red marker on it for the Hebrew homes (optional)
|
| 11. Passover | | - Table, plates, utensils, flat bread (could use actual matzoh)
|
| 12. Red Sea Crossing | - Moses (staff)
- Aaron
- Pharaoh
- Egyptian/Israelites
| - Wall of water (blue poster board with sides folded up, draw waves and add fish stickers)
- Chariot(s) and Egyptian soldiers, Israelites – Playmobil
|
2) Movie Crew Responsibilities Chart
This is the same for all workshops.
Divide responsibilities among the different students based on the chart below, making sure each child has an opportunity to participate in every part of the “movie set".
Option: print out assignments onto cards and pass out to children. At the end of the scene, have them trade their card with another child. Make sure every child has a chance to be photographer. Several children can serve as set designers. If you have a film clapper, one child can also be assigned to announce the scene with the clapper.
- Screen Writer - creates scene titles, adhering labels to cardstock tents (older students). Younger students can add your prepared scene titles to each scene.
- Set Designers - sets up the scene with all character figures and props, students take turns (for some scenes all students may be able to participate – for example: plagues - Everyone places three frogs into the scene.)
- Scene Remover - this person(s) removes any items not required for the next scene.
- Lighting - additional scene lighting (you may have access to a worklight, office lamp with bendable arm, or a simple flashlight).
- Camera Operators - zooms in and takes photos of scene (could have your camera on a tripod for a more movie feel.)
- Movie Clapboard Operator (optional) - announces each scene, can also indicate when scene is ready to be photographed.
Example below is from Jaymie's - Moses-Plagues/Passover/Red Sea Story Table Workshop
Job Title | Responsibility | Name |
Producer | Oversee/gather/organize all supplies/props beforehand. | Teacher |
Production Manager | Read each scene’s overview, requirements and any special notes for crew. | Teacher |
Screenwriter | Creates scene titles – adhere labels to cardstock tents. | Older children |
Set Designer | Set-up the scene with all character figures and props. | Children take turns (for many of the scenes all children can participate – for example: “Everyone put three frogs on the scene.” |
Scene Removals | Most of the plague scenes can remain unchanged, but this person removes the items before the next plague. | Children take turns |
Lighting | Hold light in place so that scenes have adequate lighting. | Children take turns |
Camera Operators | Take photos of the scenes. | Children take turns |
PDF attachment is from original post.
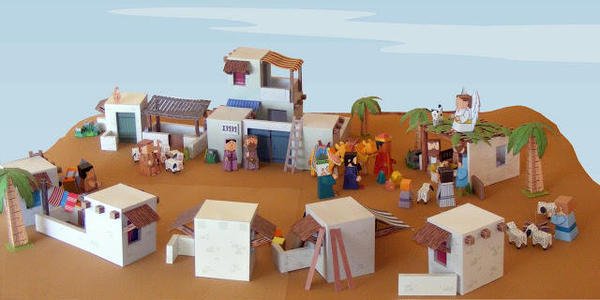
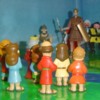
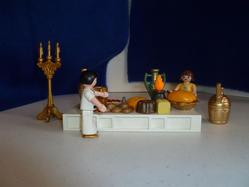
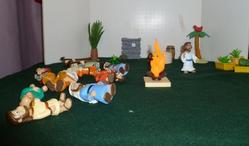
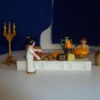
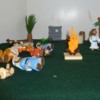
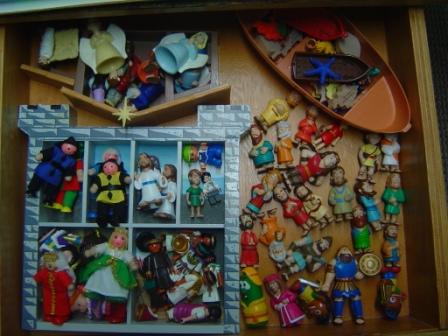
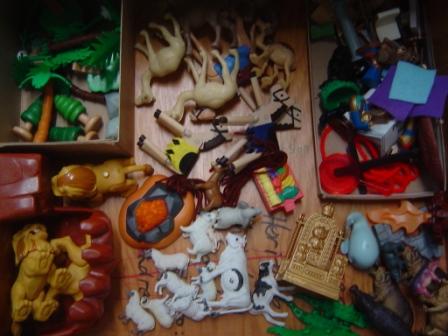
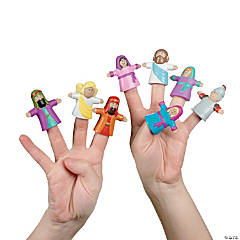
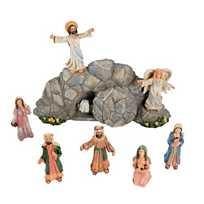
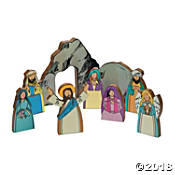
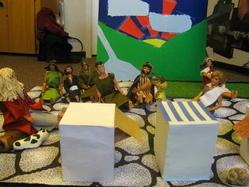 The room is stocked with Bible action figures (some made out of dressed up Barbies/GI/Lego/Playmobil and other re-purposed toys), props, backgrounds, blocks, paper, craft supplies, etc.